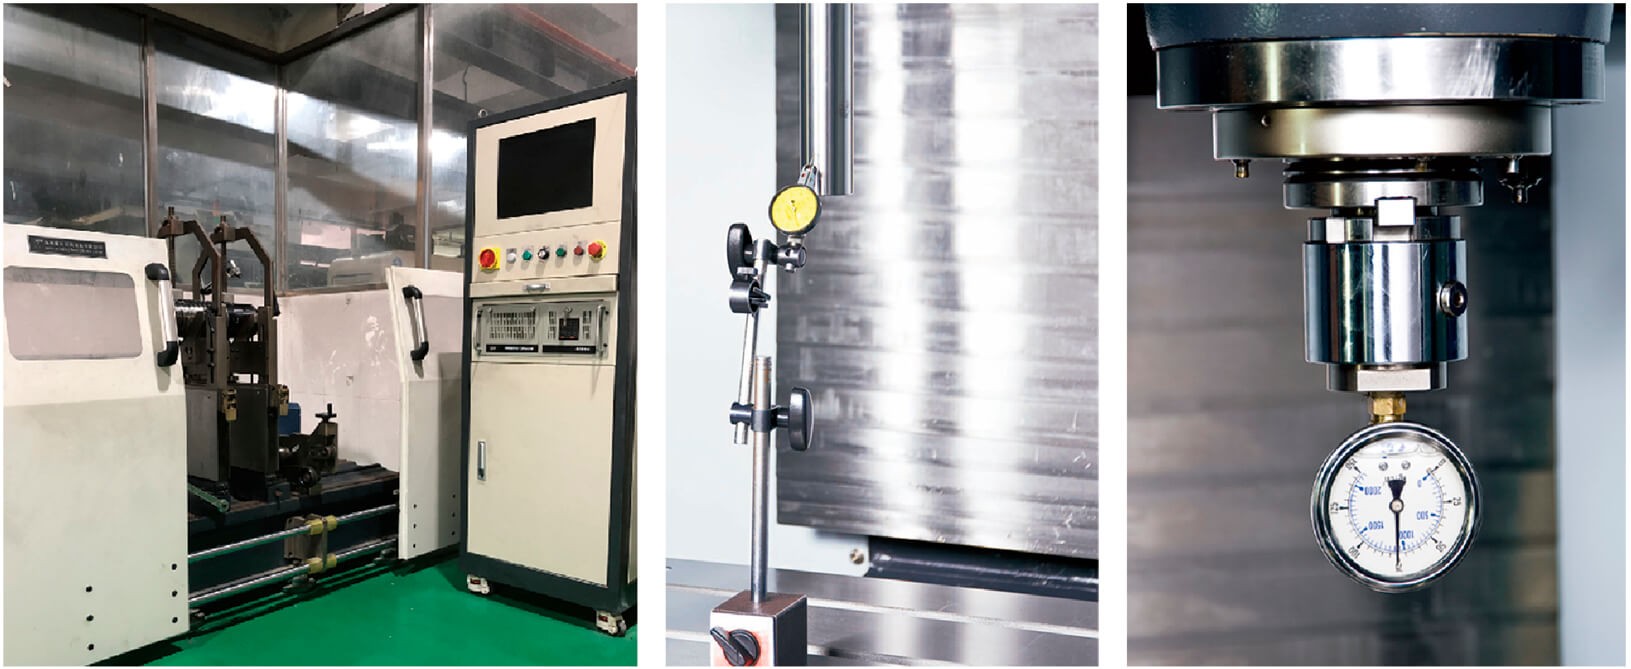
How We Control Quality?
There are a total of 20 QC team members, and more than 10 people have more than ten years of QC experience.
Testing Equipment:
| Three-coordinates tester | HEAXGON inspector 08.12.06 | 1 |
| Laser Interferometer | Renishaw XL80 | 4 |
| Roundness Ballbar | Renishaw QC20W | 4 |
| Dial indicator | 513-404 | 3 |
| Dial indicator | 513-404 | 2 |
| Outside micrometer | 293-243-3075-100 | 1 |
| Dial indicator | 513-405 | 10 |
| Dial indicator | 513-475 | 8 |
| Dynamic balancer | PY-2700(160142) | 2 |
| Marble platform | Quartet | 3 |
| Marble platform | Rectangle | 2 |
| Noise meter | 1350A | 1 |
| Tonometer | U-507 | 1 |
| Leverage dial indicator | NZL160 | 1 |
| Spirit level | FSK-200 | 12 |
| Standard value meter | 3325 | 2 |
| High-speed spindle dynamic balancing machine | XH-8630 | 1 |
Each machine tool can only leave the factory after our QC team pass the inspection. In special cases, acceptance inspection can also be carried out at the location designated by clients. The acceptance inspection of machine tools is divided into type inspection and our own internal inspection of normal production products.
1. Type inspection is to comprehensively evaluate the technical level of machine tool structure design, and to check whether the design and manufacture of machine tools can meet the requirements of clients and whether they meet the requirements of relevant standards and technical documents. Propose topics that need in-depth study and measures to improve the design. Type inspection should be carried out in any of the following situations: when new products are trial-manufactured or identified for finalization; or when the structure and performance of the machine tool have undergone major changes.
Type Inspection items are as follows:
1. Noise test, GB/T16769-1997
2. Absolute and relative vibration test, ISO2372
3. Thermal deformation test, GB/T 18400.10-2021
4. Static stiffness test GB/T 13574-1992
5. Transmission efficiency test,
6. Vibration resistance cutting test
7. Vibration test
8. Position accuracy test GB/T 17421.1-1998
9. Rotation accuracy test,
10. Uniformity test of linear motion ISO 1940-2-1997
11. Transmission accuracy test
12. The machining accuracy test, each axis is tested for verticality and parallelism, and it is required to be within 0.01mm.
13. Reliability test. GB/T 23567.1-2009.
For various types of machine tools, you can choose test items or add new items according to the machine tool's structural and functional characteristics and your own specific conditions.

2. Our internal inspection of normally produced products is to assess whether the manufacture of the machine tool conforms to the provisions of relevant standards and technical documents, and to assess whether the quality of the machine tool is stable. The contents of the machine tool factory acceptance inspection are as follows:
1. Appearance quality
2. Inspection of accessories and tools
3. Parameter test
4. Dry running test of machine tool
5. Load test of machine tool
6. The precision inspection of the machine tool and the dynamic balance detection of the spindle table ensure the machining accuracy of the spindle. Spindle yaw test, 300mm requires within 0.005mm to ensure spindle accuracy and verticality. Spindle pulling test to detect the broaching force of each spindle.
7. In the work test of the machine tool, different intelligent CNC machines need to automatically load and unload different workpieces. Therefore, before leaving the factory, the function of grabbing and placing parts should be repeatedly tested. For processing inspection, each machine tool need to produce a standard test workpiece, and each workpiece must be tested by Hexagon three-coordinate instrument to ensure the machining accuracy of the machine tool.
8. For the aging test of the machine tool, the after-sale warranty of our CNC machine tools is 1 year. In order to ensure our quality, our CNC machine tools are shipped after the aging test.
9. In the circuit self-test test, within 2 seconds after the power is turned on, self-test is implemented to ensure that there is no fault. In addition, during normal operation, real-time self-test is also performed to ensure that the intelligent CNC machine tool truly plays a protective role.
10. Laser detection, full-stroke motion accuracy has been corrected and compensated by laser to ensure the positioning accuracy and reset positioning accuracy of the machine.
11. Ballbar roundness test, it is required to be within 0.012mm for 300mm range to ensure the accuracy of the machine tool.

Who Control the quality for you:
Perfect quality control process and cutting-edge testing are inseparable from the deep love of machine tools.
Our quality inspection department is composed of a group of careful and patient young people who have been working in the machine tool industry for more than 5 years.
They love machine tools and understand the industry testing standards. They stick to the bottom line and principles of quality inspectors. They build the most solid Great Wall for the quality of customers' products and escort the interests of customers.
